
Golden-brown, juicy and tender, pan seared chicken tenderloins are perfect for your weekly meal prep. Seasoned with garlic salt and pepper, no breading is needed, so they work even for gluten-free eaters.
If you’re looking for an easy and delicious way to increase the amount of protein you eat without adding too much fat, these chicken tenderloins are what you’ve been searching for. They’re simple to make, can be prepared ahead and stored in the refrigerator or freezer, and go with just about any meal. For the health-conscious cooks out there, these homemade chicken tenderloins are a lot healthier than the deep fried frozen chicken tenders you’ll find at the grocery store. One chicken tenderloin adds about 14 grams of protein and only a gram and half of fat. Cooking them in extra virgin olive oil like I do does add to the fat total, but it’s a nominal amount, and EVOO is a minimally processed, heart healthy monounsaturated fat that is associated with reducing inflammation and promoting cardiovascular health. . . certainly a step up from the highly processed and pro-inflammatory seed oils found in most store bought chicken tenders from the freezer aisle.
Meal Prep
Chicken tenderloins are great for meal prep because their small size allows them to cook quickly compared to chicken breast. Although you could easily cut back on the amount of tenderloins you cook and make only enough for one meal, I recommend stepping up your meal prep game and batch cooking chicken tenderloins instead. Batch cooking is just a term for cooking in bulk. Batch cooking is always a winning strategy for successful meal prep and allows you to make enough food for multiple meals in a relatively short amount of time. Although a little more time is required on the front end, batch cooking saves time overall, and it’s nice to have extra protein ready to go in the freezer for a busy day when dinner just isn’t going to happen as planned.
I buy a package of chicken tenderloins at Costco (that’s a lot of tenderloins to cook all at once, usually about 6 pounds!), and batch cook the entire package. Then I divide them into three containers. Two go in the freezer for a quick defrost in future weeks, and one in the refrigerator for various meals throughout the current week. If batch cooking is not your thing, you can easily reduce the amount of ingredients in this recipe to meal prep enough for just one week or even one day at a time.

What to Serve with Chicken Tenderloins
The only seasoning added to these tenderloins is garlic salt and ground black pepper so they can really go with just about anything and take on the flavor of whatever you’re serving them with. If you’re not batch cooking, feel free to adjust the seasoning to your meal, like taco seasoning if you’re serving them in tacos.
Here are some of my favorite ways to enjoy chicken tenderloins. . .
-Quality protein topping for a salad
-Protein in a grain bowl
-Tossed in a pasta dish
-Diced for chicken tacos
-Chopped in a chicken and veggie wrap
-Served as a part of a balanced plate along with a starch, non-starchy veggies and healthy fat.
-Paired with a yummy dipping sauce like spicy green sauce

Their versatility is part of what makes them so great for meal prep. It’s nice to have them prepped in the freezer because they defrost quickly in the microwave and can be used in a pinch when life happens and your meal plan doesn’t go according to plan.
How to Prepare Chicken Tenderloins
Start by trimming the tendon off each tenderloin with kitchen shears. The tendon has a rubbery, chewy texture, so while you don’t have to remove the tendon before cooking, I recommend doing so to avoid the unappetizing texture.
If you’re cooking in bulk, place all the tenderloins in a 13×9 glass pyrex and season them with salt and pepper on both sides. I prefer to put raw meat in glass so that I can wash the dish in the dishwasher when I’m done. We don’t use the dishwasher for metal or plastic containers so glass is my go-to for marinating or storing raw meat.


Place a drizzle of oil in a skillet, about a teaspoon. You don’t have to measure here, just don’t go overboard because although extra virgin olive oil is nutritious, remember, it’s still a source of fat and therefore calorie dense.
Next place one layer of tenderloins in a skillet. I prefer a cast iron skillet, but any skillet will work. You can crowd them together to cook as many as possible at one time but make sure they don’t overlap.
Turn your stove on medium and allow the tenderloins to cook for about 5 minutes then flip them over and allow them to finish cooking until the internal temperature reaches 165 degrees F. While they are cooking, slide them around with your spatula or tongs to prevent them from sticking and falling apart.
After one batch is done, remove the skillet from the heat and transfer the tenderloins to a container to store. Then add a little more oil to the skillet and start the process again with your next set of tenderloins.
Repeat this process until all the tenderloins are finished. Batch cooking will obviously take longer than cooking only enough for one meal, and the amount of time required depends on the size of your skillet and how many you cook at once. Do what you have time for. It’s ok to not batch cook the entire package. Like I mentioned before, it’s really nice to have extras in the freezer for days when you don’t have time to cook from scratch and you don’t want to end up in the drive thru either, but even if you don’t have time to cook a whole Costco-sized package, cooking enough for the week is still a great way to meal prep and set yourself up for success.


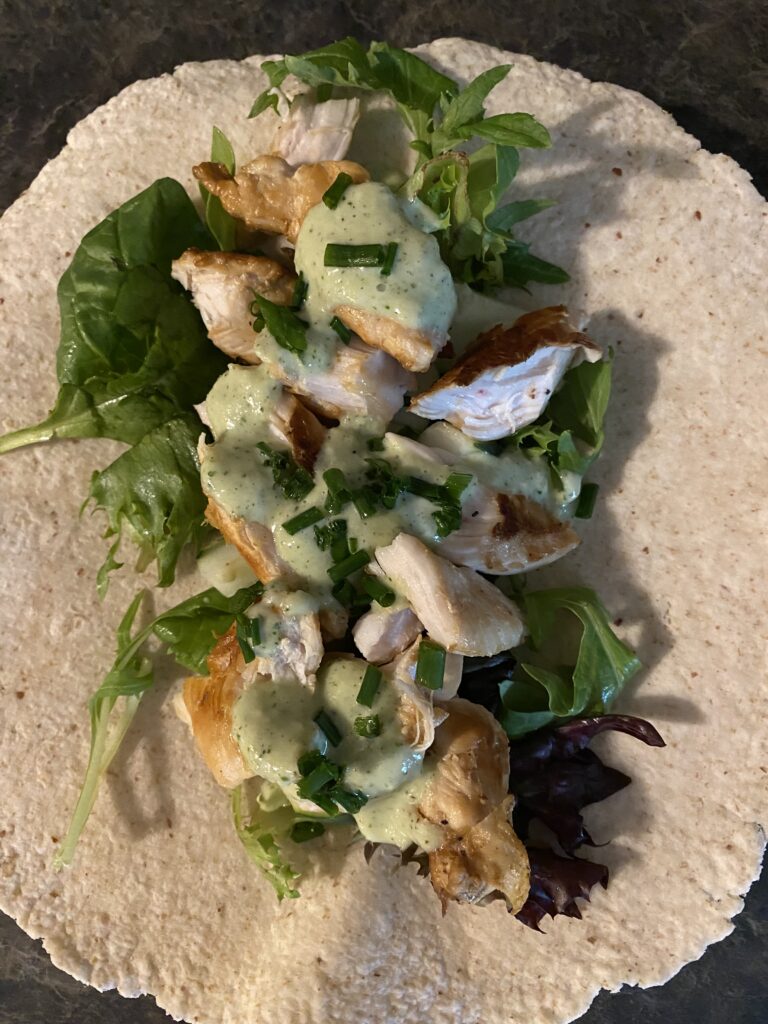
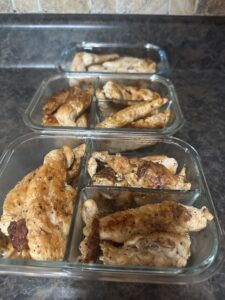
Juicy Meal Prep Chicken Tenderloins
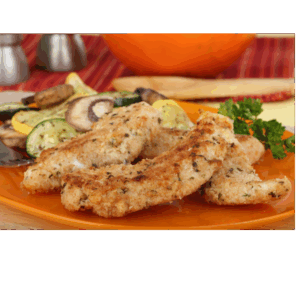
Equipment
- Cast iron skillet or preferred skillet
Ingredients
- 6 lbs Chicken tenderloins boneless, skinless
- 3 Tbsp extra virgin olive oil
- 6 tsp garlic salt
- 3 tsp ground black pepper
Instructions
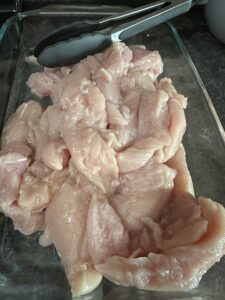
- Trim fat/tendon from the chicken and sprinkle both sides with garlic salt and ground black pepper. Rub the spices into the chicken
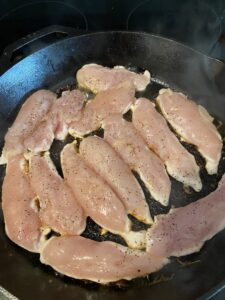
- Warm the oil in a cast iron skillet on medium and place first batch of chicken in the skillet. Make sure the chicken is not overlapping, but it's ok if they touch.
- Cook for about 4 to 5 minutes, then turn over and cook for an addition 4 to 5 minutes or until the internal temperature reaches 165o F.
- Remove the tenderloins from the pan to a storage container.
- Add the next batch of tenderloins to the skillet and continue the same process until all the chicken has been cooked.
- Label your storage containers with the date and "chicken tenderloins". Keep some in the refrigerator for meals for the week and place the remaining containers in the freezer.